

How to Upgrade a Hi-Capa Airsoft Pistol (Step-by-Step Upper & Lower Assembly Guide)
This guide walks through how to upgrade a Hi-Capa airsoft pistol the right way: you’ll build the upper slide assembly first (hop-up + barrel, recoil system, nozzle/BBU stack, final slide assembly), then build the lower frame assembly (frame hardware, trigger, hammer/sear/disconnector components, magwell + magazine release), and finally marry the upper to the lower with the correct sequence so everything cycles smoothly.
Safety & expectations: Always unload and clear the pistol before disassembly. This is a general TM-spec Hi-Capa guide; small fitment differences exist across brands/compatibility. If you want a “known-good” parts path, start with the MNA Hi-Capa Upgrades collection.
1) Main Steps: How to Take Apart a Hi-Capa (Basic Field Strip)
Before installing upgrades, you need a clean baseline teardown. The Hi-Capa field strip is simple and should feel smooth—if it’s gritty or binds, note where it happens (that’s often where fitment or wear will show up after upgrades).
- Remove the magazine and clear the chamber (verify no BB is loaded).
- Rack the slide to ensure the hammer is cocked and the slide moves freely.
- Align the slide catch notch with the slide catch pin (disassembly notch position).
- Push the slide catch pin out and remove the slide catch lever.
- Slide the upper forward off the frame rails and set the lower aside.
Tip: keep a parts tray and group components by “upper” and “lower” so reassembly is fast and mistake-proof.
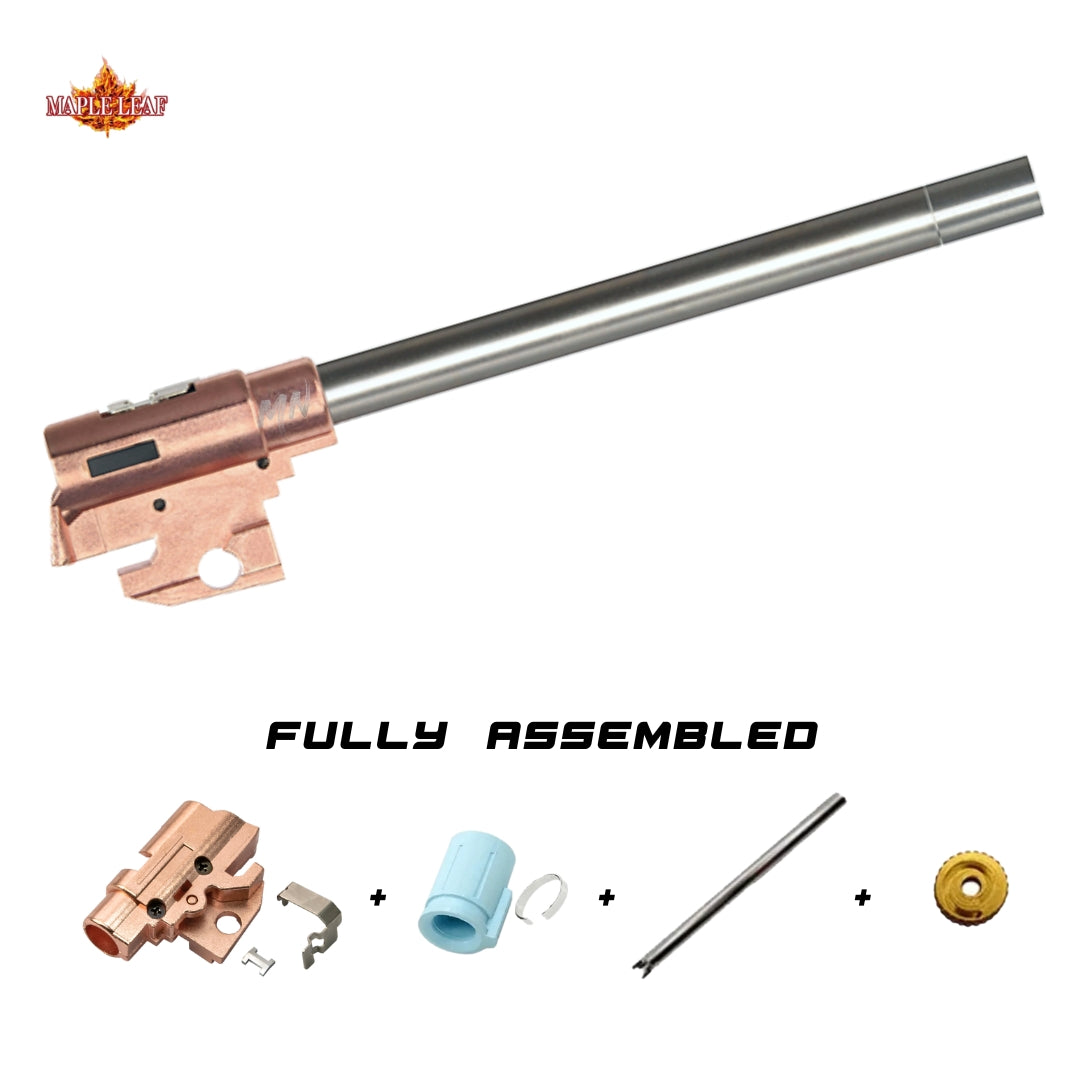
2) Build & Tune the Hop-Up Assembly + Choose an O-Ring Stabilized Barrel
This is the most performance-critical part of the build. Your hop unit, bucking, and inner barrel determine range, accuracy, and shot-to-shot consistency. For best results, choose a barrel setup with O-ring stabilization so the inner barrel doesn’t wobble inside the outer barrel/slide assembly.
Start with a quality bucking and a known-good drop-in hop/barrel system to reduce trial-and-error. Two common upgrade paths: a bucking swap like the Maple Leaf Hi-CAPA Hop-Up Bucking (Decepticon/Autobot), or a complete drop-in hop/barrel unit like the Maple Leaf Drop-In Hi-Capa Inner Barrel & Hop Up (113mm).
- Install the bucking on the inner barrel (ensure the alignment rib seats correctly).
- Install the barrel + bucking into the hop chamber (confirm the hop window aligns cleanly).
- Add barrel stabilization O-rings where appropriate (your kit may include them; otherwise match sizing to your setup).
- Set hop to “neutral” (minimal lift) for initial assembly and testing.

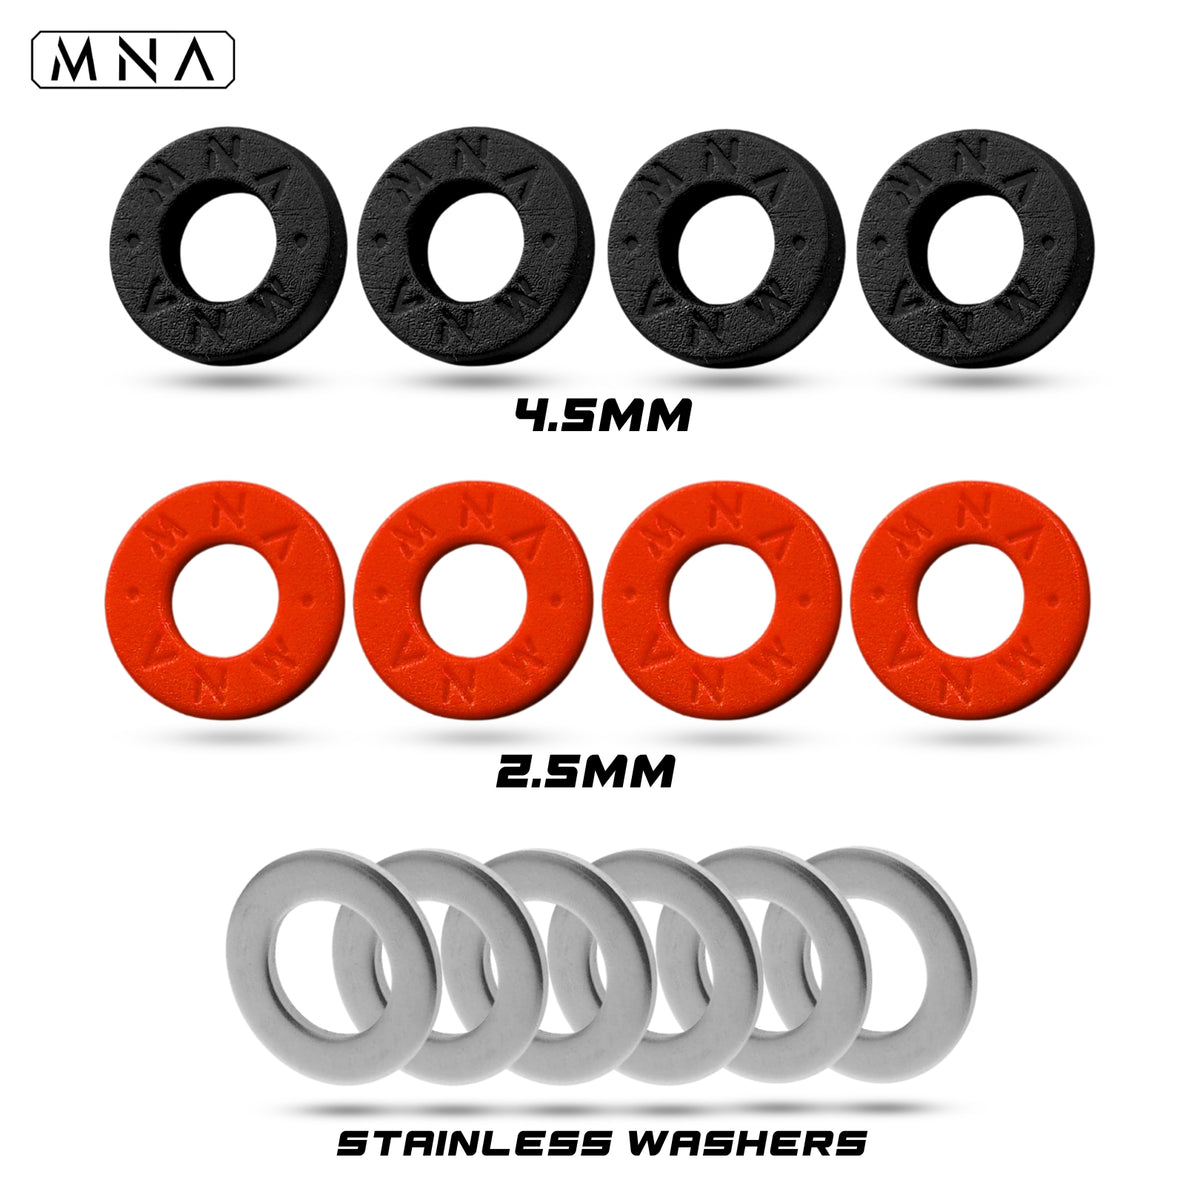
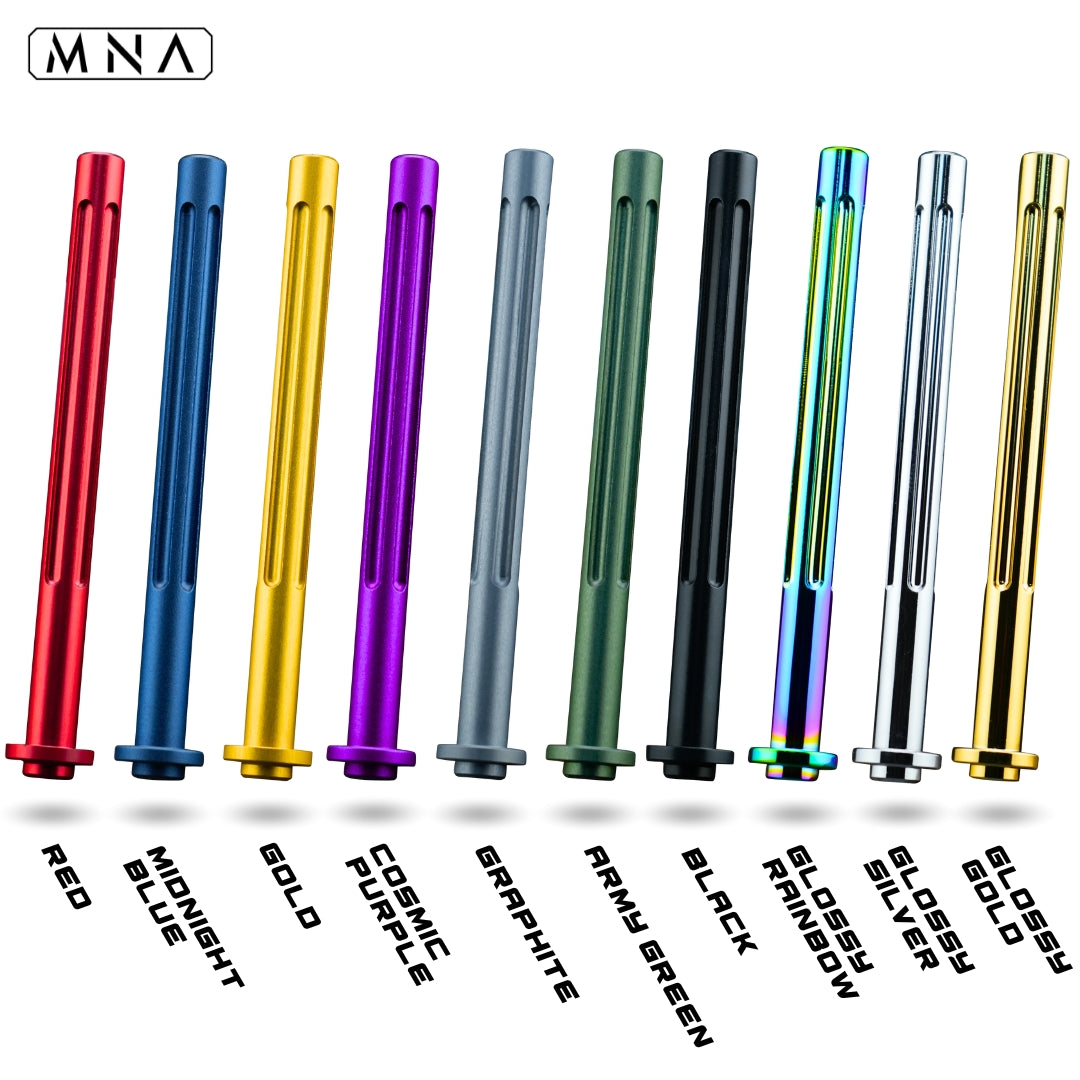
3) Assemble the Guide Rod: Short Stroke + Enhanced Recoil Spring + Guide Rod Plug
Your recoil system controls cycle speed, return-to-zero, and how harshly the slide impacts. A short-stroke setup can reduce travel, speed up cycling, and make the pistol feel snappier—especially for speedsoft and fast follow-up shots. A reliable baseline setup is the MNA Short Stroke Set paired with a quality guide rod like the MNA Fluted Guide Rod for TM Hi-CAPA 5.1.
- Slide the recoil spring onto the guide rod (confirm it seats straight and doesn’t kink).
- Install short-stroke buffers/washers in the intended stack order (start conservative; add more after testing).
- Fit the guide rod plug/recoil plug (ensure it locks positively and doesn’t bind under compression).
- Hand-cycle the assembly off-gun to confirm smooth compression and return.
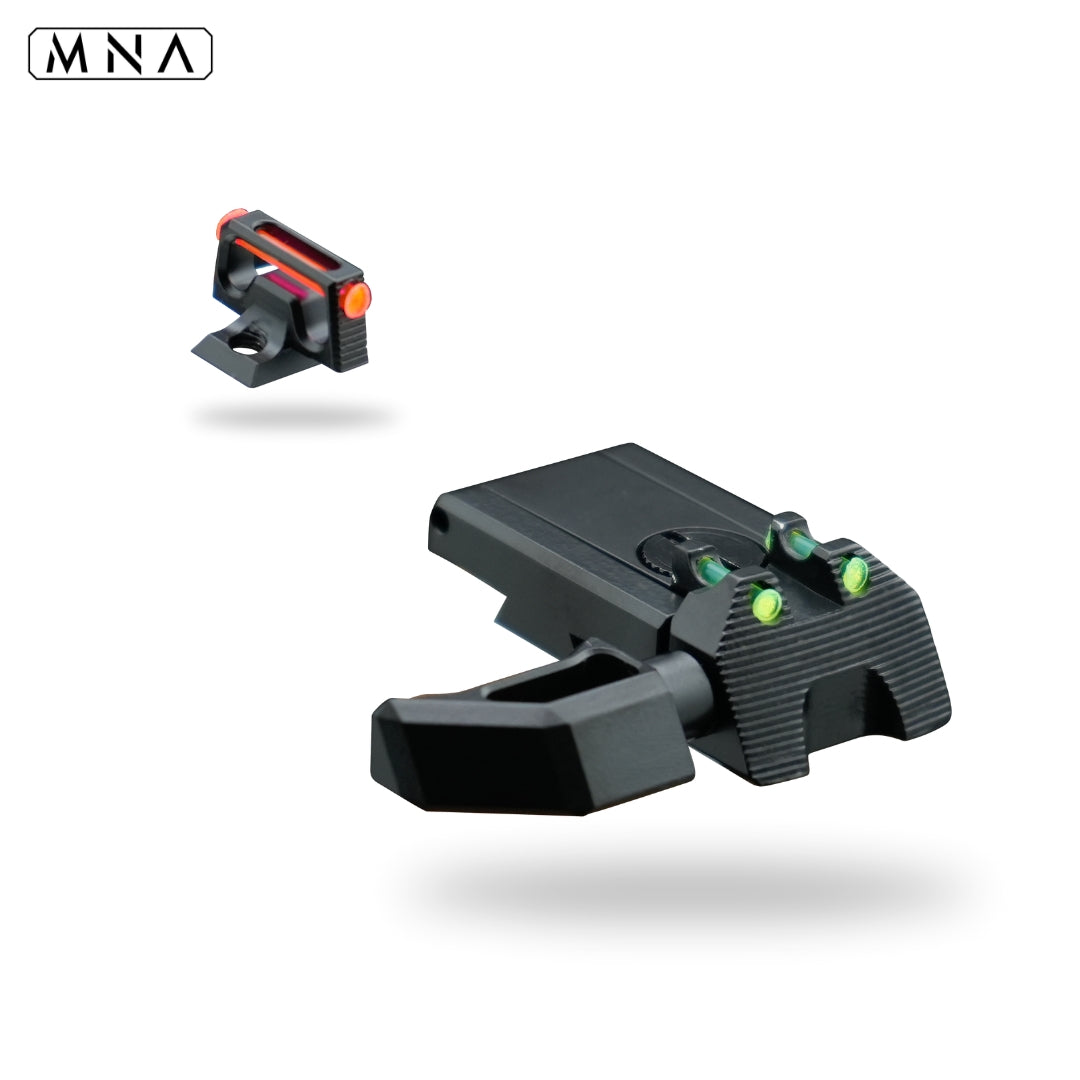
4) Install the Nozzle onto the BBU + Rear Sight Sequence + Nozzle Spring Assembly
The blowback unit (BBU) stack is where cycling reliability and gas efficiency live. Your goal is a smooth nozzle return, consistent sealing, and no binding during high-speed cycling. Assemble this step carefully and confirm the nozzle moves freely before it ever goes back into the slide.
- Install the nozzle onto the BBU (confirm alignment pins/rails sit correctly).
- Install the nozzle return spring and spring guide (ensure the spring isn’t twisted or pinched).
- Slide the rear sight into place before finalizing BBU placement if your slide design requires it (varies by slide).
- Test the nozzle movement by hand: it should glide and snap back with consistent tension.
Tip: If the nozzle drags, fix it now. A tiny bind in hand-testing becomes a full-on failure during rapid cycling.
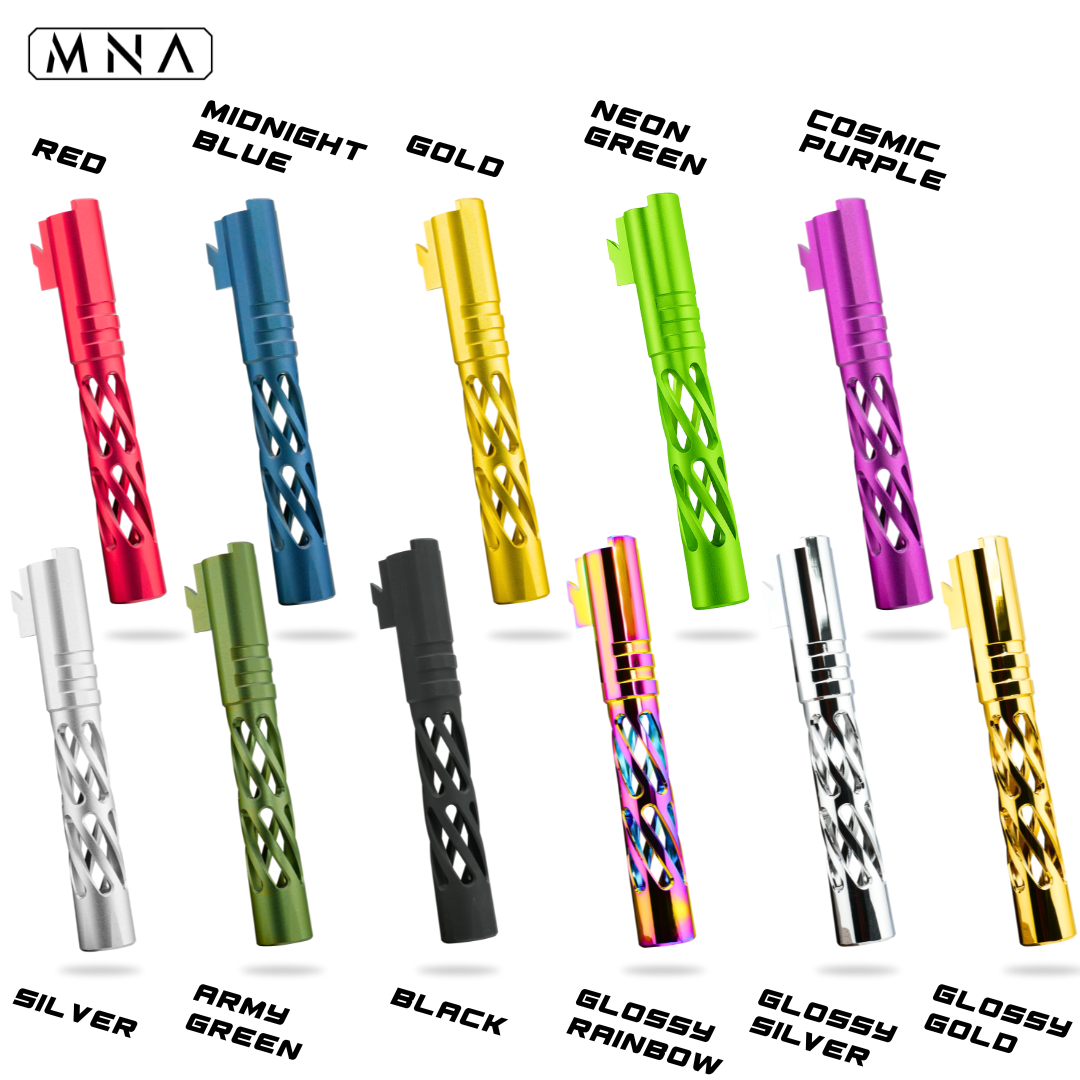
5) Slide the Outer Barrel + Hop Assembly Into Place
With hop-up and barrel assembled, you’ll install the outer barrel into the slide, then seat the hop unit into the outer barrel. This is where stabilization matters: if your inner barrel is centered and stable, your shot consistency improves immediately. If you’re building a custom look too, an upgraded outer barrel like the MNA CNC Torque Spiral Outer Barrel gives both performance-friendly fit and visual impact.
- Insert the outer barrel into the slide (ensure it pivots freely in the correct arc).
- Seat the hop-up unit into the outer barrel (confirm lockup and alignment).
- Check that the hop adjustment is accessible and stable (no rocking or “loose feel”).
6) Install the Recoil System Into the Slide (Finish the Upper)
Now you’ll finish the upper by installing the guide rod assembly into its final position. Your goal is: smooth slide movement, correct guide rod seating, and no spring kinking under compression. Once installed, hand-cycle the slide components to confirm everything returns to battery cleanly.
- Place the guide rod plug in the correct front seat location.
- Compress and seat the recoil spring/guide rod assembly into the barrel/slide interface.
- Cycle the barrel/outer barrel arc and check for any binding points.
- Set hop back to neutral and confirm the slide fully returns to battery without help.
If you want a slide that matches your upper build visually, check slides like the MNA Mirage™ CNC Slide. (Performance note: lighter slides often benefit from tuned recoil springs and short-stroke setup.)
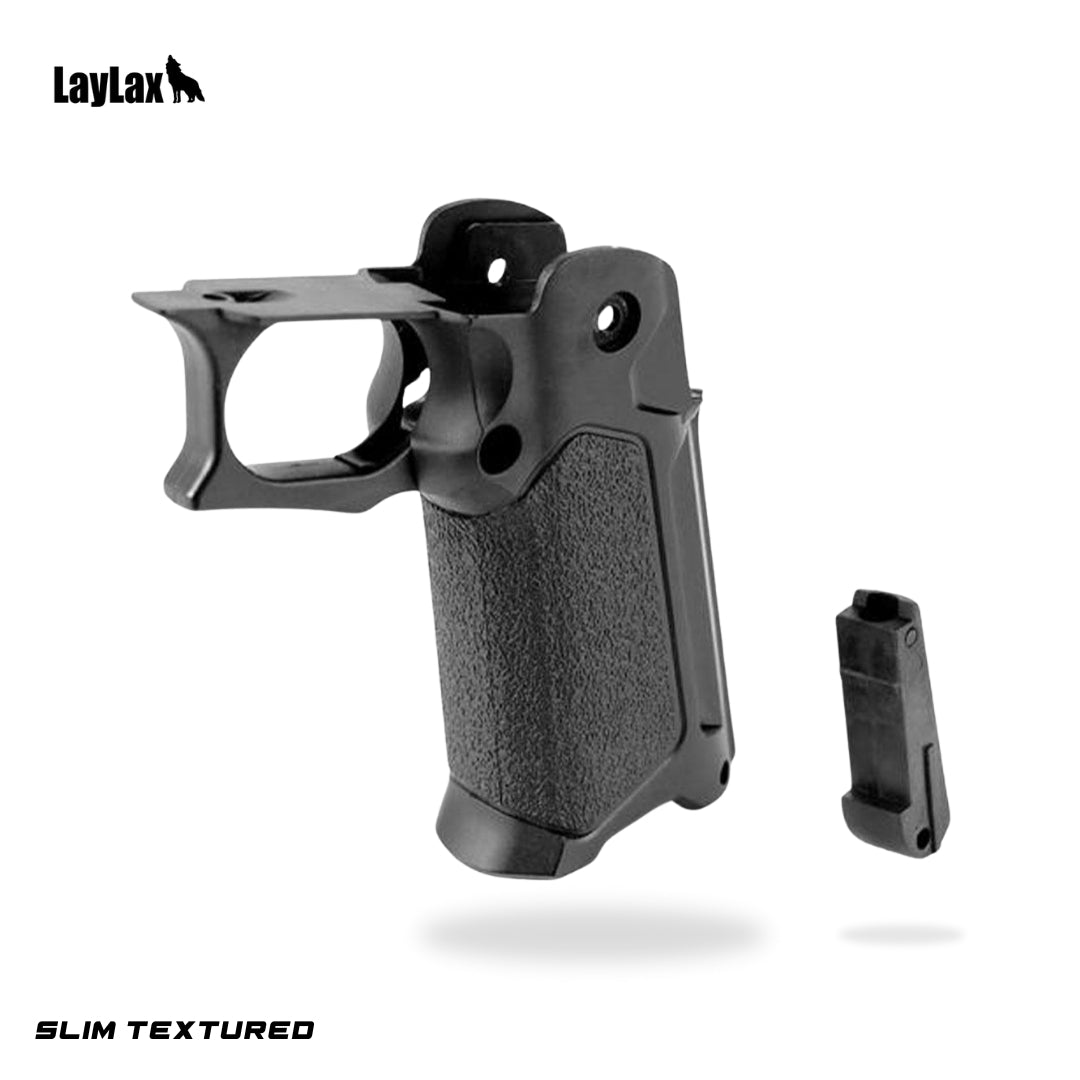
7) Lower Disassembly: Grip Screws, Frame Screw, and Separating Grip & Frame
The lower houses your trigger feel and fire-control parts. Start with a clean disassembly so you can swap parts without fighting tension or losing springs. Keep grip hardware organized—Hi-Capa screws are easy to mix up.
- Remove grip screws (consider upgrading to MNA CNC Grip Screws if you want a cleaner custom finish).
- Remove the main frame screw and separate grip from frame (go slowly, note spring positions).
- Set aside the safety/controls as needed depending on your planned internal swaps.
8) Install the Bottom Frame Rail
The bottom frame rail is a popular upgrade for mounting accessories and improving the overall fit/feel of the lower assembly. Install it with careful alignment so it sits flush and doesn’t interfere with frame-to-grip fitment. If you’re upgrading rails, browse the Hi-Capa upgrade parts here: ShopMNAirsoft Hi-Capa Upgrades.
- Dry-fit the rail to confirm alignment and screw engagement.
- Install with even pressure and avoid cross-threading.
- Verify the rail doesn’t block frame hardware or pinch the grip when reassembled.
9) Swap Triggers + Internal Parts (Hammer / Sear / Disconnector Area)
This is the “feel” and “function” core of the Hi-Capa. Triggers change pre-travel and reset feel, while hammer/sear/disconnector swaps change break, consistency, and reliability under fast cycling. Go slowly, take photos during disassembly, and test for proper safety and reset function at every stage.
- Remove the trigger and trigger bar carefully (note how the bar interfaces with the sear/disconnector system).
- Swap the trigger unit and confirm smooth travel (no rubbing on frame/grip).
- Replace hammer/sear/disconnector components as desired; verify correct spring orientation and engagement surfaces.
- Function-check: reset, safety engagement, and hammer follow (should NOT follow).
Pro tip: The smoother your upper cycles (short-stroke + tuned recoil), the easier it is for the lower to stay consistent under speed. This is why upper reliability and lower fire-control reliability go hand-in-hand.
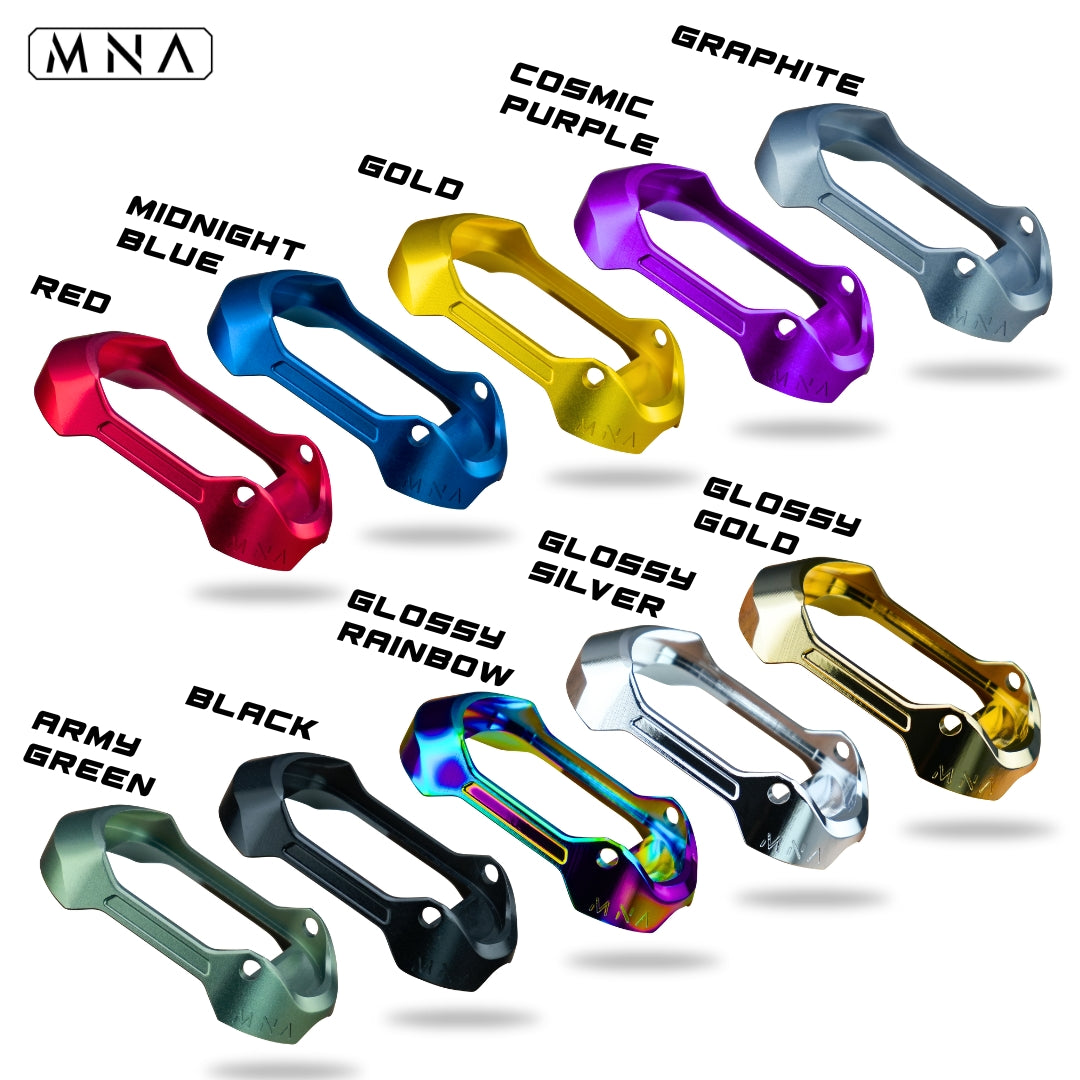
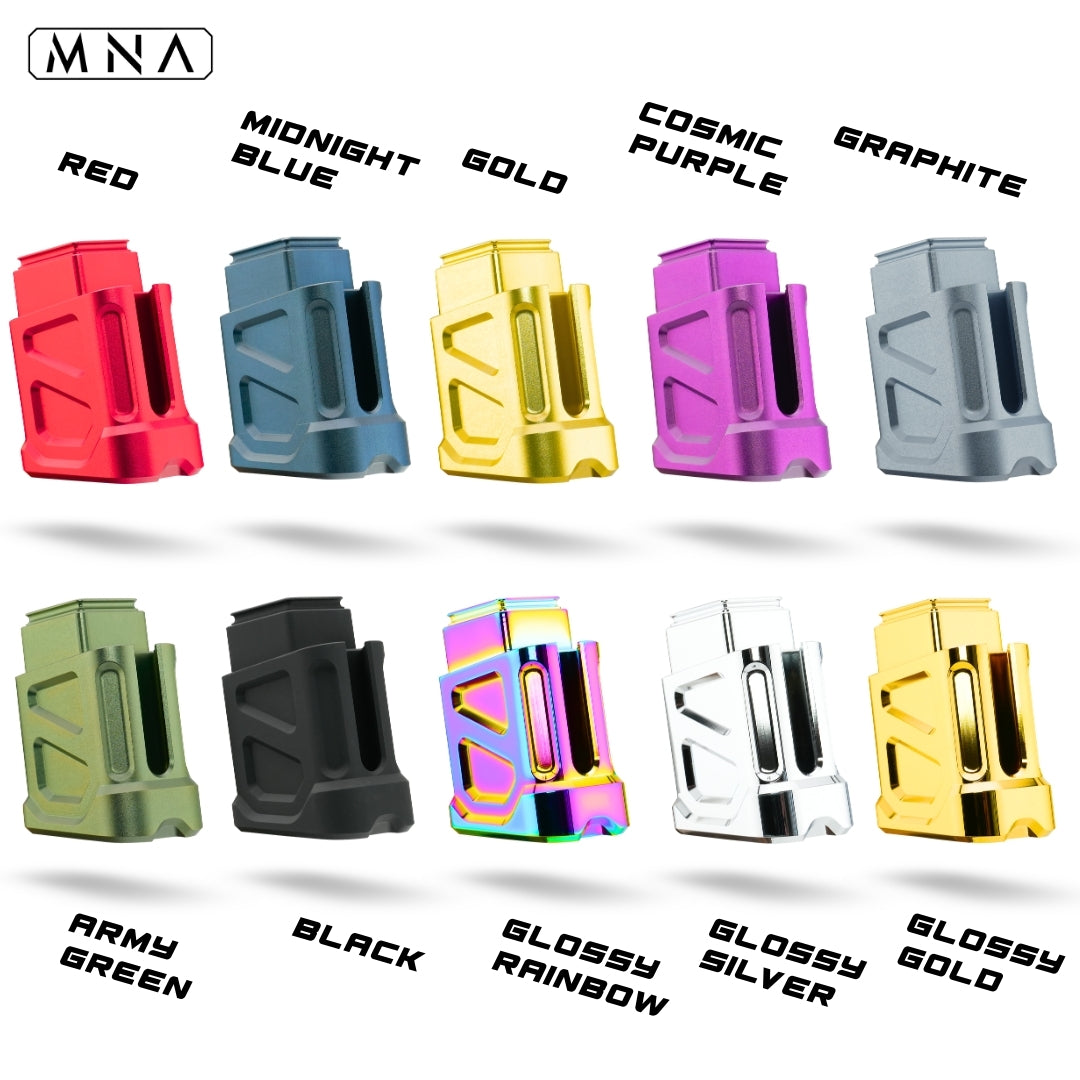
10) Magwell + Magazine Release + Reassemble Lower, Then Final Slide-On & Slide Catch Lock-In
The last lower upgrades that seriously change gameplay are magwell and mag release. A magwell speeds reloads and improves consistency when inserting magazines under stress, while an upgraded mag release improves ergonomics. For a clean high-end feel, check the MNA CNC Hi-Capa Magwell and the MNA Skeletonized Magazine Release.
- Install the magazine release and verify positive engagement + clean release.
- Install the magwell and confirm magazines seat fully (no over-insertion issues).
- Reassemble grip and frame together (ensure springs and safeties sit correctly).
- Final assembly: slide the slide onto the frame rails, press the disconnector and hammer down, then slide fully rearward.
- Insert the slide catch through the frame and barrel link area, then lock it into place (confirm smooth lockup).
- Function-check: rack the slide, dry-fire (safe direction), reset, and verify the slide returns to battery.
If you want a “no-guesswork” path, consider the MNA Custom Hi-Capa Build / Assembly Service. It’s the fastest way to get a tuned, compatible, competition-ready Hi-Capa.
Share:
The Absolute Best Hi-Capa Upgrades | Which Should be First?